
I love growing unusual plants that you wouldn’t normally find. Some gardeners, such as myself, really want those unusual plants, flowers, vegetables, and herbs that make folks say ‘wow!’ Turmeric is one such plant. Knowing how to grow turmeric will give you a fresh source of the spice and dazzle folks who visit your home. Growing fresh turmeric? You must have some green thumb!
In reality, turmeric isn’t all that hard to grow. It’s a very straight forward process. Let’s talk about what turmeric is and how it’s grown.
What is turmeric
Before we set about growing turmeric and harvesting it for use in our homes, it’s good to know what exactly turmeric is. Turmeric is a spice that is harvested from the turmeric plant. It’s a common spice in curries, mustards, and even butters and cheeses. Turmeric contains a yellow-colored chemical called curcumin which is used to color foods and some cosmetic products.
Turmeric has a warm, but slightly bitter taste. Some believe that turmeric can help with certain health conditions, like inflammation, depression, high cholesterol, heart burn, thinking and memory skills, IBS, and a host of other conditions, but there really is no particularly compelling scientific evidence that any of these conditions can be resolved by turmeric.
How to grow turmeric
So you’re ready to grow some turmeric. Awesome! Growing turmeric is a rewarding experience, the reward being fresh turmeric for your curry dishes! It’s also a pretty cool looking plant, which can’t be discounted.
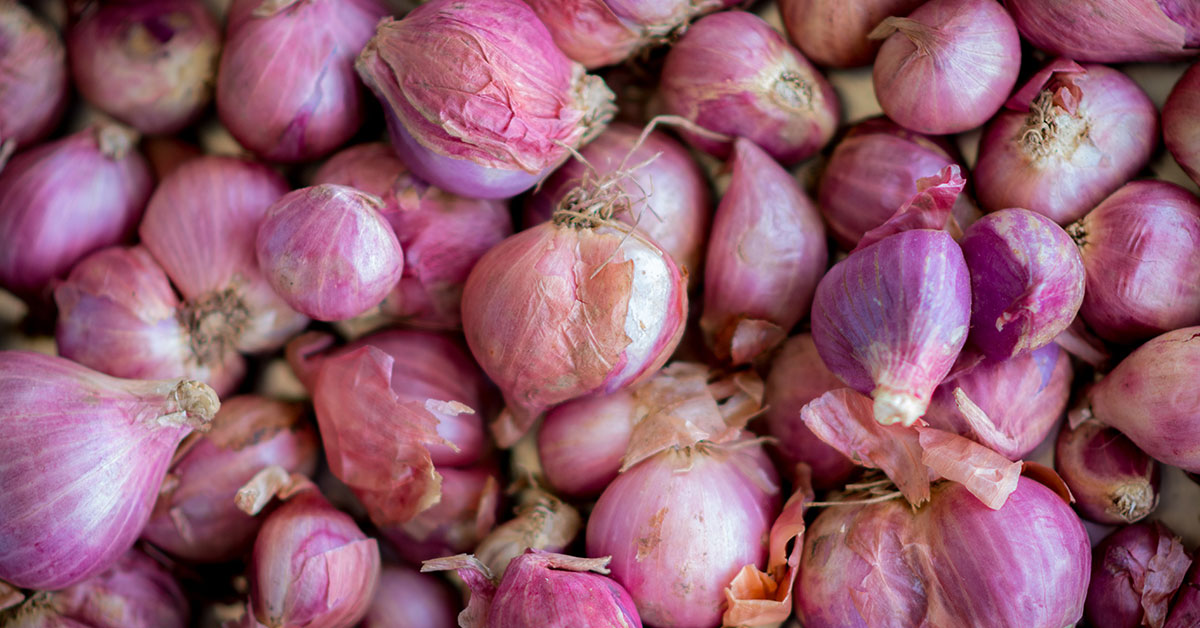
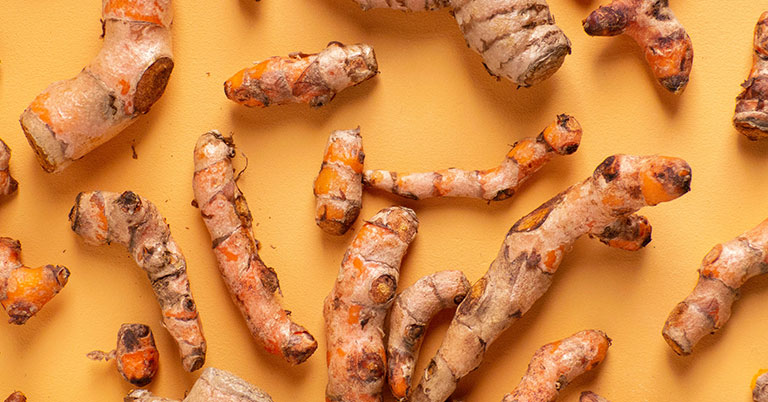
Turmeric is an herb, and it’s a perennial herb at that. If left to its devices and grown in the right climate, it would continue to grow back each year. Turmeric can be reproduced easily through its rhizomatic root system. The larger the rhizome system, the larger the plant itself. It’s these rhizomes growing beneath the soil that we harvest and use as a spice in our dishes – similar to ginger root.
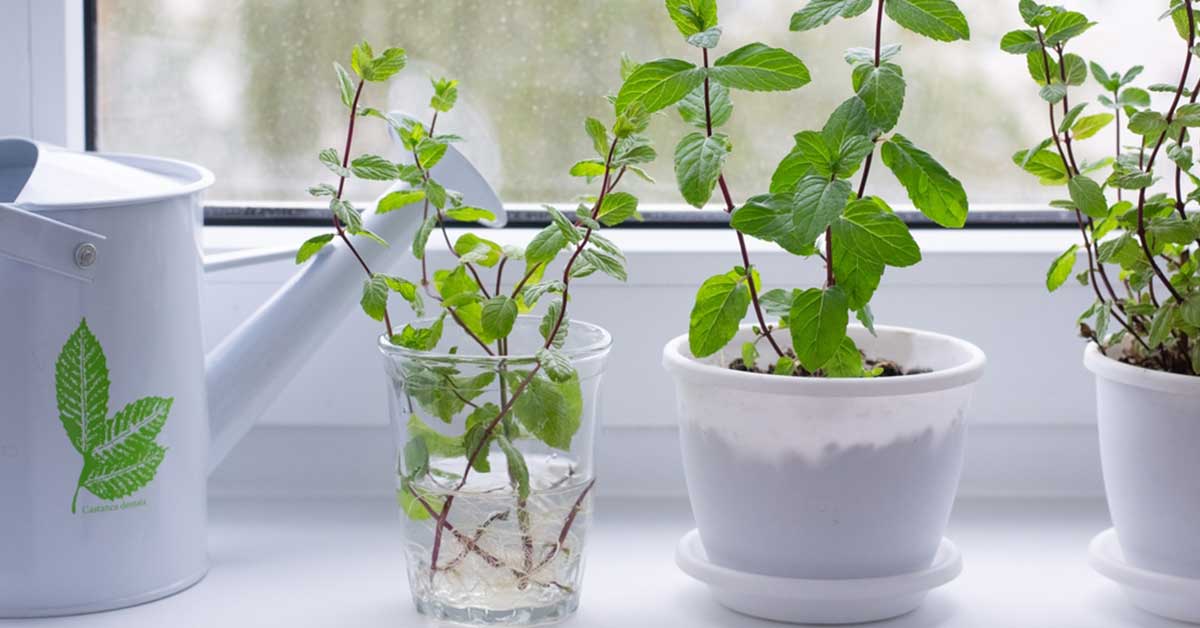
Turmeric is native to South Asia, which means if you live in the Northern Hemisphere, there is a high likelihood that you don’t have the regional climate for growing turmeric. In the United States, turmeric can be grown in USDA hardiness zones 8 and higher. In zones 7 and lower, turmeric will need to be grown at least partially indoors, which makes container gardening turmeric ideal.
What complicates things is turmeric’s need for full sun. It’s hard to get full sun when you’re indoors. But choosing a very sunny window for its container is one way of making sure it gets enough sun. You can also use a special grow light.
Container gardening turmeric
For most of us, turmeric will need to be grown in a container that can be brought indoors during colder weather. What’s important with container growing turmeric is picking the right container. Turmeric will grow well in a container 10-12 inches deep, but you’ll need a wide container. Turmeric’s rhizomes need lots of place to grow and spread. So if you have a deep but not wide planter, you’ll be reducing your harvest.
Turmeric likes very rich soil. Mixing some garden soil with soil fresh from your compost heap is a pretty solid bet. Turmeric really wants to grow in soil heavy with organic material. Turmeric enjoys soil that’s a bit more acidic.
Read More: What Is Organic Gardening?
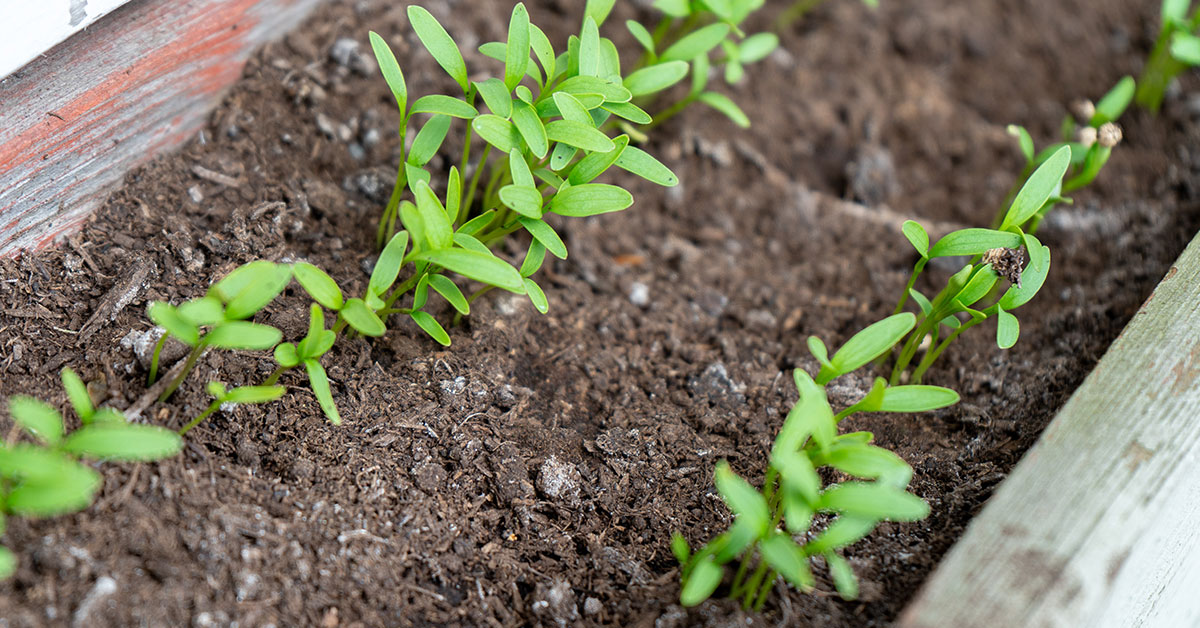
When you’re ready to plant your rhizomes, what you’ll want to do is take a sterilized knife and and cut your turmeric root into what are called “Seed pieces.” These pieces aren’t actually seeds, but chunks of the rhizome that will take root and grow into a new plant.
Each seed piece should be about the length of your index finger and have a minimum of two ‘nubs’ growing off of it. These nubs will eventually sprout and grow.
How to plant turmeric
It’s safe to plant turmeric outdoors once the soil has reached 55 degrees Fahrenheit, which requires daytime temperatures of of about 70 degrees. Turmeric needs 10 months in order to grow, so if you live in a climate where the growing season is shorter than 10 months, plant in a container that can be brought indoors.
Once you have your planting site ready, bury your rhizome pieces 3 inches deep and 6 inches apart from one another. Identify the bumps on each rhizome and ensure that they are planted facing upward.
Once planted, water them and keep the soil moist but not soaked.
And now here comes the scary part: the wait. If you’ve planted your turmeric and nothing is sprouting, don’t worry, that’s normal. It can take up to 4 months for the first sprouts to poke through the soil. Don’t worry, your turmeric is busy sprouting roots and getting ready to burst through the soil.
When to harvest turmeric
So, you planted your turmeric in, let’s say, January, and it’s now October. It sprouted sometime around April and has been going strong. When is it time to harvest this turmeric and make some curry?
The leaves will tell you when it’s time to harvest your turmeric. It’s ready to harvest when they turn yellow, brown, and begin to die off. It’s unmistakable!
When your turmeric plants are ready to harvest, take a trowel and dig a wide hole around the stalks. You want to be really careful that you don’t accidentally chop up the rhizomes of the plant. You can also tip the container and dump out its contents, breaking apart the soil and finding the rhizome clusters hidden beneath the dirt.
Once you’ve washed off the roots, you can cut the foliage off and what you’re left with are fresh, edible turmeric rhizomes. If you’ve done it well, you should have more turmeric than you know what to do with!
Enjoy.
Keep Reading: 10 Vegetables You Can Regrow From Scraps