
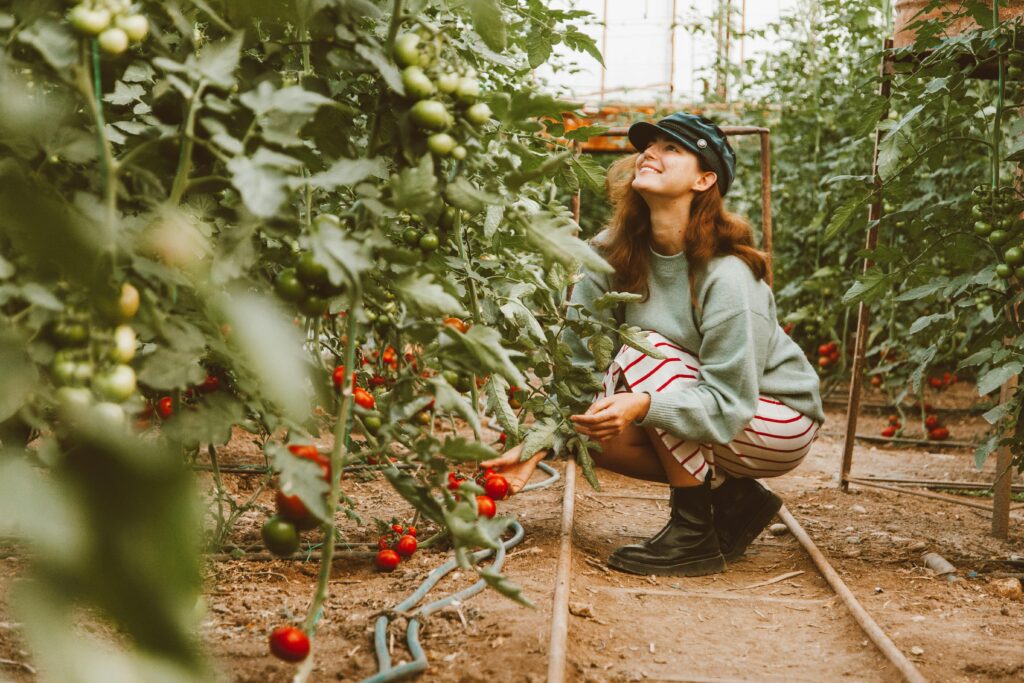
According to the National Gardening Association, approximately 30% of American households grow their own food, and tomatoes appear in 86% of those gardens. This makes tomatoes the most commonly home-grown vegetable in America by a large margin. However, the difference lies between growing a few tomatoes and growing plants that consistently produce a heavy, flavorful harvest week after week. That difference stems from specific, well-timed decisions made throughout the season.
Growing your own tomatoes requires no specialist equipment and very little additional time. What they do require is consistency. These 15 tips, which can be applied from planting day to the final flush of fruit, draw on horticultural research and best practices to provide you with the most direct path to a more productive crop this season.
Choose Varieties That Suit Your Climate
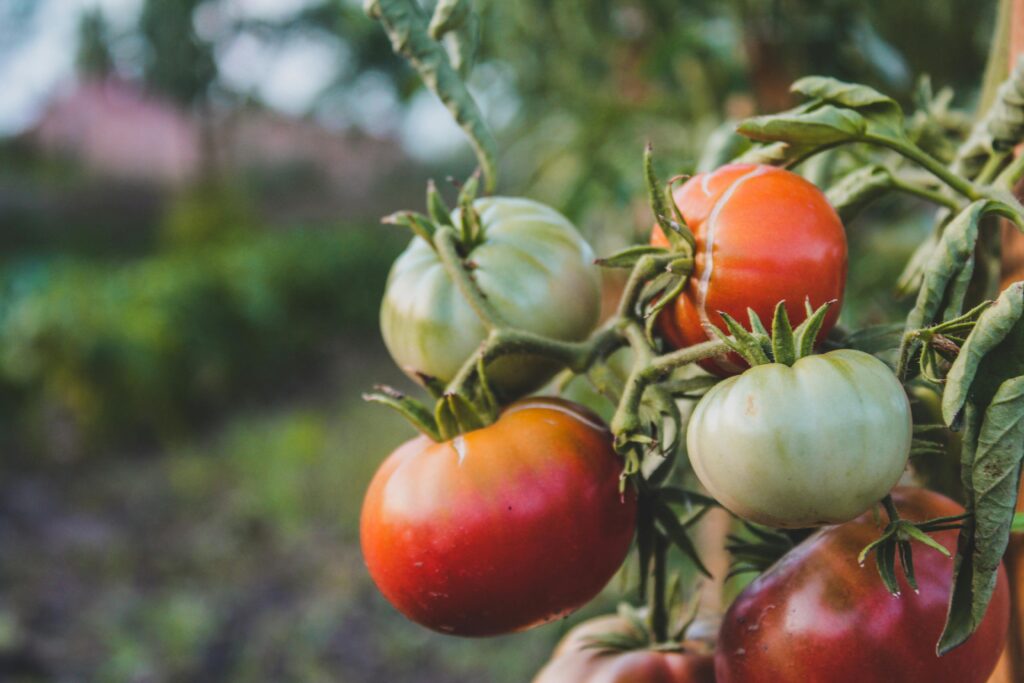
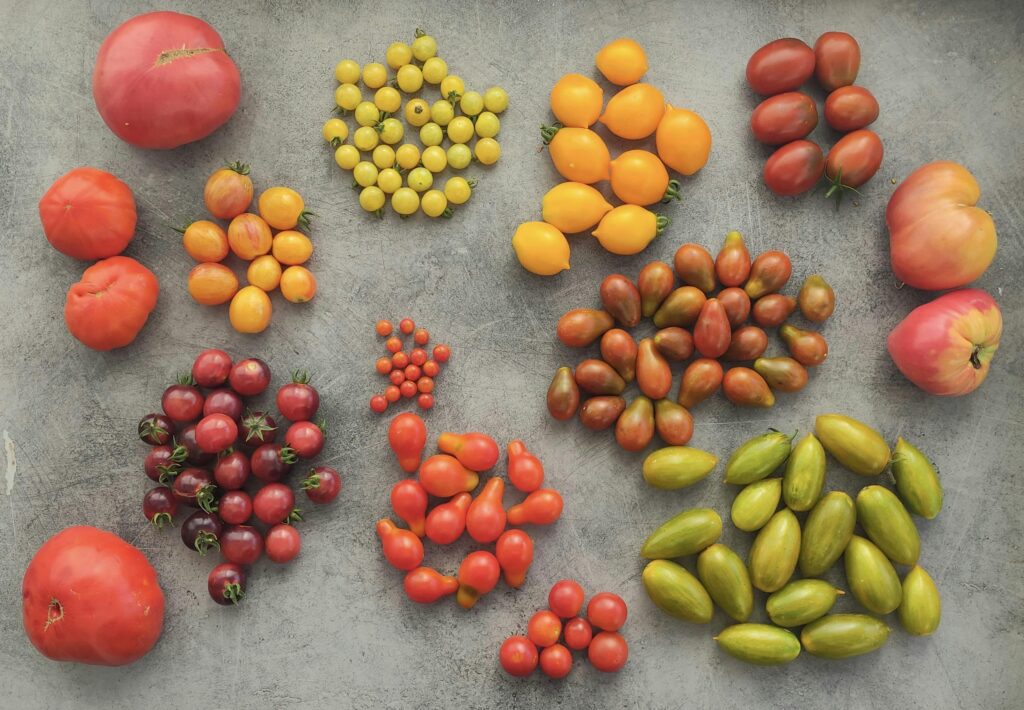
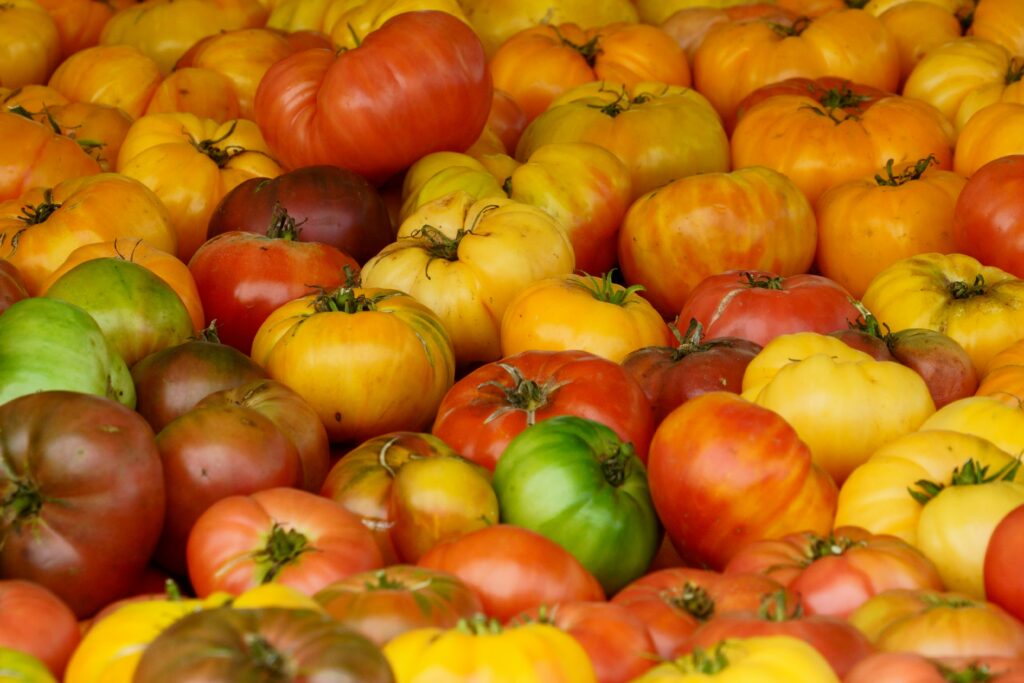
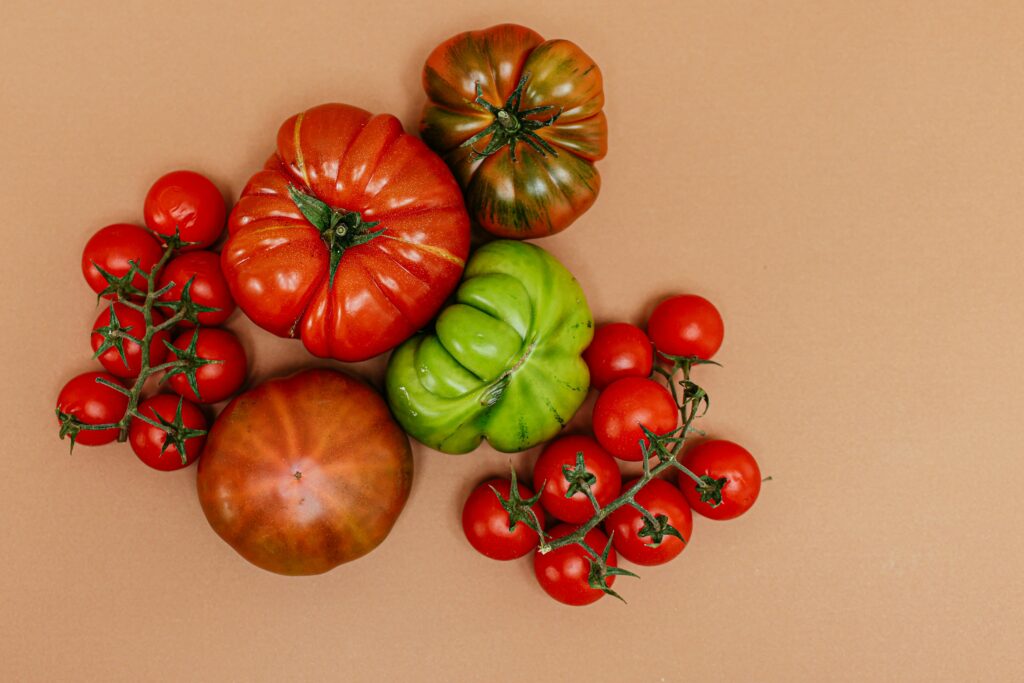
While spring garden centers offer a vast array of tomatoes, the most critical factor in your selection process is ensuring a variety is compatible with your local environment. Before beginning your growing journey, consider that certain variants of tomatoes are developed specifically for extended, high-heat seasons, whereas others are better equipped to thrive in shorter, cooler summer windows. Picking the correct variety matched with your region’s climate gives you a greater advantage of yielding produce before a seed is even planted.
Plant labels with specific identifiers highlight innate disease resistance, which aids in selection refinement. Important designations that indicate a plant’s resistance to these prevalent problems are V for verticillium wilt, F for fusarium wilt, N for nematodes, and T for tobacco mosaic virus. The choice between tomato types depends on your harvesting goals: indeterminate varieties are ideal for those seeking a continuous supply of fruit throughout the season until the first frost, whereas determinate varieties are better for gardeners who prefer a large, single harvest for tasks like making sauce or preserving batches.
Start With Strong, Healthy Plants
The success of 2 seedlings started on the same day in the same environment often diverges by midsummer, with the primary cause frequently being the health and vigor of each plant at the time of planting. A seedling with a stocky stem, compact internodes, and deep green leaves has been grown in adequate light with consistent nutrition. A leggy, pale seedling that was reaching toward insufficient light in a crowded tray carries that disadvantage forward, often taking 2 to 3 additional weeks to establish.
When starting from seed indoors, light quality matters more than most beginners expect. Seedlings grown under a quality grow light or on a bright south-facing windowsill produce noticeably thicker stems and stronger early root systems than those grown in dim conditions. Strong plants set their first flowers earlier, resist stress more effectively, and maintain productivity for longer than those that began in disadvantaged conditions.
Harden Off Seedlings Before Planting Outdoors
Indoor-raised seedlings become accustomed to consistent lighting, still air, and stable temperatures. Because these controlled variables are absent in the outdoor environment, moving plants too abruptly can trigger a stress response that stalls development for two to three weeks.
To bridge this gap, gardeners should use a gradual 1 to 2-week transition known as hardening off. Despite being a critical step, it is frequently overlooked in home tomato cultivation, often resulting in a significant setback for the growing season.
The process involves progressive daily outdoor exposure sessions, starting with an hour of sheltered shade and building toward full afternoon sun by the end of the period. Wind exposure matters as much as sun intensity. Plants grown only in still indoor air develop stronger, more resilient stems when gradually introduced to outdoor conditions, which pays off once they are permanently in the ground and need to carry the weight of developing fruit.
Plant in Full Sun for Maximum Production
Tomatoes planted in full sun consistently outproduce those grown in partial shade. Sunlight drives photosynthesis, the process through which plants produce the sugars that fuel both growth and fruit development. Most varieties need a minimum of 6 to 8 hours of direct sun daily, while plants receiving 8 to 10 hours typically yield more fruit with better flavor. Morning sun carries an additional benefit: it dries leaf surfaces early in the day, reducing the window of moisture that fungal pathogens need to establish themselves.
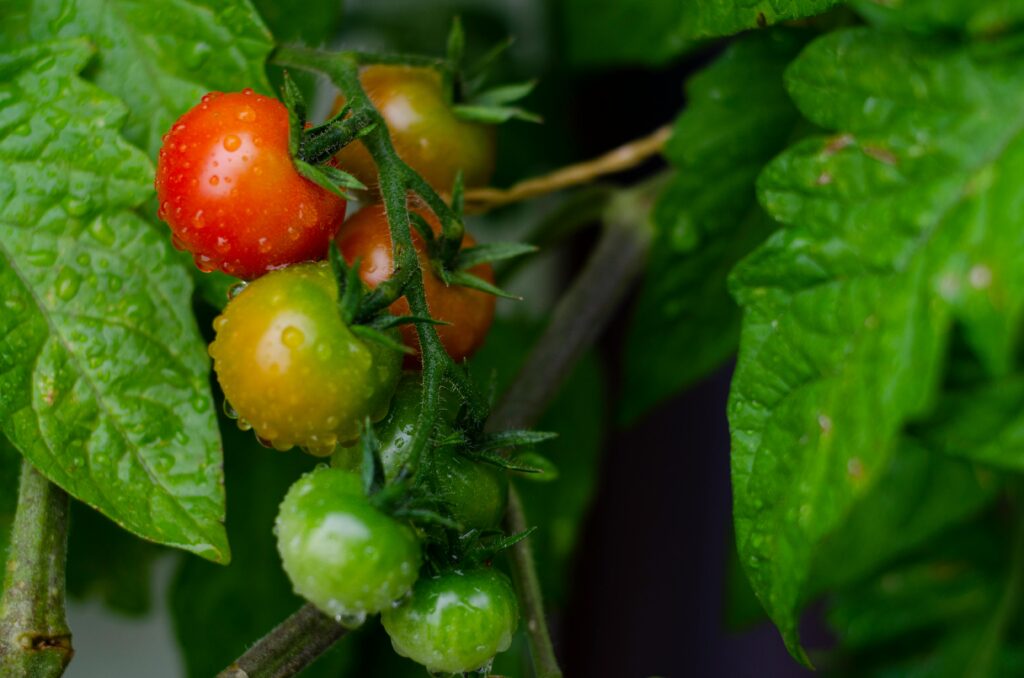
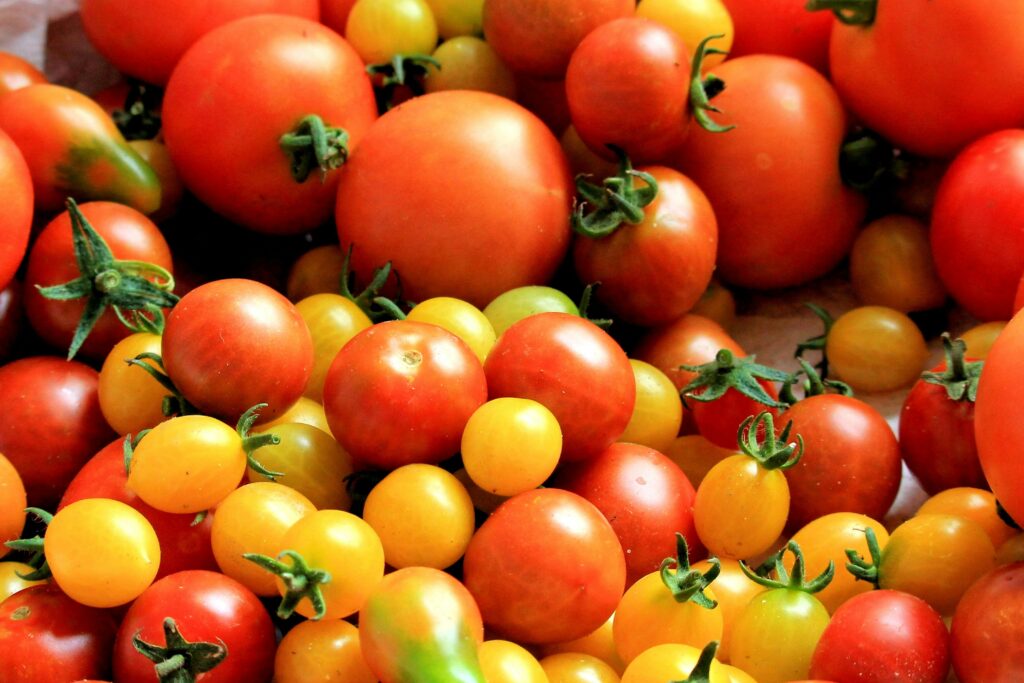
Before choosing a planting location, observe your garden for a full day. A spot that seems bright in the morning may lose several hours of direct sunlight due to tree or building shade in the afternoon, which can hinder your plants’ growth. In gardens with limited sunlight, cherry tomato varieties tend to thrive better in partial light compared to larger-fruited types, which require more photosynthetic energy to develop their size and flavor.
Conducting a full-day observation of your garden before deciding on a planting site can provide much-needed insight to preemptively plan your planting. Before selecting a site, monitor your garden throughout the day; a spot that appears bright at dawn may be obscured by buildings or trees later on, depriving plants of essential light. For gardens with restricted sun exposure, cherry tomatoes are an excellent alternative. These smaller varieties flourish in partial shade far more effectively than larger types, which require intense photosynthetic energy to achieve their full size and flavor.
Plant Deep to Build a Stronger Root System
Most vegetables go into the ground at roughly the same depth they grew in their nursery containers. Tomatoes work differently. Any section of stem buried below the soil surface produces adventitious roots, which means planting them deeper than their original depth directly expands the root system. A broader root network improves water and nutrient uptake, anchors the plant more securely in the soil, and helps it handle both sustained heat and the added weight of a heavy fruit load.
Trench planting is one of the most reliable methods for getting newly transplanted tomatoes established quickly. Remove the lower leaves from the stem, dig a shallow horizontal channel, lay the plant on its side, and cover everything except the top growth with soil. The stem bends naturally toward the sun within a few days as roots form along its entire buried length.
Give Plants Enough Space to Breathe
Fitting one more plant into a small bed is tempting, but crowded tomatoes consistently underperform well-spaced ones. When plants grow too close together, the canopy closes, and air stops moving freely through the foliage. Leaves stay wet for longer after rain or irrigation, and fungal diseases find exactly the humid, still conditions they need to spread quickly through the planting.
Adequate spacing also determines how much sunlight reaches the inner and lower sections of each plant’s canopy. A well-spaced tomato receives light from multiple angles, which supports more even fruit production from top to bottom. Indeterminate varieties need at least 2 to 3 feet between plants, with larger-growing types needing more. Well-spaced beds are also easier to work in, reducing the accidental stem damage that comes from forcing a path through a crowded row.
Use Mulch to Lock In Moisture and Regulate Soil Temperature
A 2 to 3-inch layer of organic mulch around the base of tomato plants works on several fronts at once. It slows moisture evaporation from the soil surface, buffers soil temperature against hot afternoons and cooler nights, and suppresses weeds that compete for water and nutrients. Straw, shredded leaves, and grass clippings all work well. Keep the mulch pulled slightly back from the main stem to prevent moisture from sitting against it at ground level.
Mulch also physically intercepts the soil splash that occurs during watering and rain. Without it, water hitting bare soil kicks up fine particles carrying fungal spores directly onto the lower leaves, one of the primary pathways for early blight infection. Eising Garden Center recommends natural, undyed organic mulch because it breaks down during the season and adds organic matter back into the soil. Apply it immediately after transplanting to get the full benefit.
Water Consistently and Deeply
Two of the most common mid-season problems, blossom-end rot and fruit splitting, share the same underlying cause: inconsistent soil moisture. Blossom-end rot presents as a dark, sunken patch at the base of the fruit. It results from irregular calcium uptake caused by fluctuating moisture in the root zone, not from a calcium shortage in the soil itself. Fruit splitting occurs when a dry period is followed by a sudden heavy intake of water, causing the fruit to expand faster than its skin can stretch.
Watering deeply at the plant’s base rather than overhead keeps the root zone consistently moist while foliage stays dry. One thorough watering per week in moderate conditions, increased during hot or dry stretches, provides a reliable baseline. Drip irrigation and soaker hoses deliver water directly to the root zone while minimizing leaf wetness. Checking soil moisture an inch below the surface before each session keeps your schedule responsive to actual ground conditions.
Feed Your Plants at the Right Stage
Tomatoes are heavy feeders, but applying fertilizer on a fixed schedule without adjusting for growth stage can work against you. The plant’s nutritional needs shift as it moves through establishing roots, building structure, and then setting fruit. At planting time, a balanced fertilizer or a generous amount of well-made compost supports early root and stem development. Once the first flower clusters open, that nutritional focus needs to change.
Phosphorus and potassium take priority once flowering begins. Both directly support flower set, fruit development, and the sugar accumulation that determines flavor. Continuing to apply nitrogen-heavy fertilizer into the fruiting phase pushes the plant toward producing lush foliage at the expense of fruit. Gardening Know How recommends switching to a lower-nitrogen, higher-potassium formulation at the first sign of flowers, feeding in smaller consistent amounts across the season rather than in a single heavy early application.
Support Plants Early and Secure Them As They Grow
Installing support structures before plants need them avoids the root disturbance that comes with driving stakes into soil around an established root zone. A stake placed beside a freshly transplanted seedling causes minimal disruption. The same stake hammered in beside a mature plant risks severing roots that took weeks to develop. Stakes, cages, and trellises all work effectively, and the right choice depends on your variety and the space you have available.
Harvest to Table notes that vertical trellising works particularly well for indeterminate varieties because it allows sunlight to penetrate the canopy at every level, which supports more even ripening across all the fruit on the plant. Attach stems using soft cotton ties or stretchy plant tape rather than rigid wire, which can constrict a stem as it thickens through the season. A quick check and adjustment of ties every 2 weeks keeps plants well-supported without restricting growth.
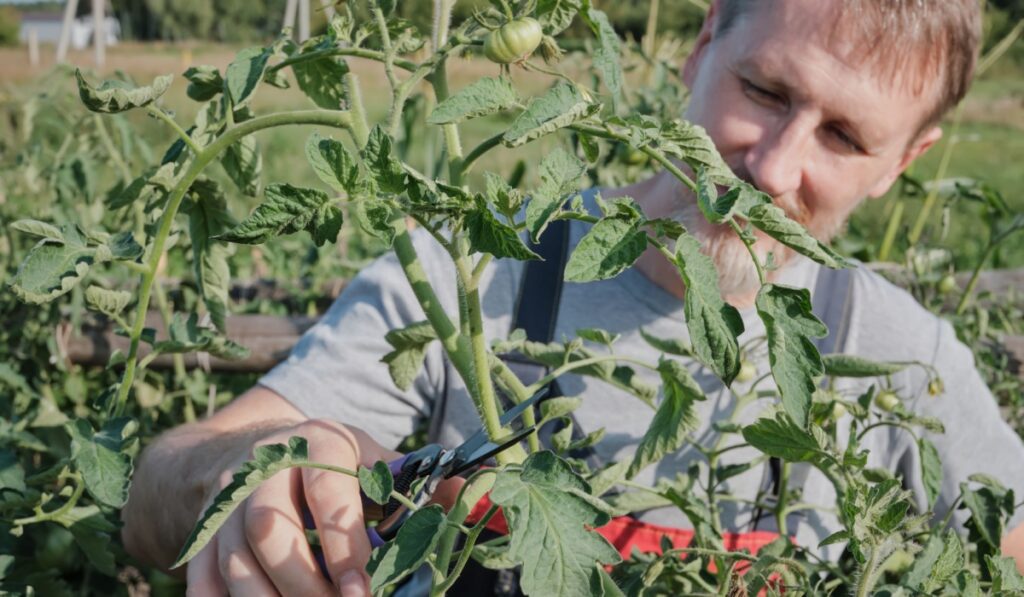
Prune Suckers on Indeterminate Varieties
A sucker is the shoot that emerges from the axil, the junction where a branch meets the main stem. Left to grow on an indeterminate variety, every sucker becomes a full branch that produces its own suckers in turn. The result is a dense, tangled plant that directs most of its energy into foliage rather than fruit. University of New Hampshire Extension confirms that selective sucker removal increases harvestable yield and reduces fungal disease by improving airflow through the canopy.
Cornell Cooperative Extension research found that pruning indeterminate varieties to a single main leader increased average fruit weight and brought the first harvest forward compared to unpruned plants. Removing every sucker without exception reduces photosynthetic output and can lower total yield, particularly in high-heat conditions. Most experienced growers settle on a 2-leader approach: the main stem plus one strong shoot from the first node below the first flower cluster. This balance produces good individual fruit size alongside sustained total output.
Read More: Tomatoes Are Your Friend: 15 Reasons To Eat More of Them
Remove Lower Leaves As the Season Progresses
Lower leaves lose productive value as the plant grows taller while their risk profile increases. Once the canopy closes over them, leaves near ground level receive minimal direct sunlight and contribute little to photosynthesis. At the same time, they sit in the zone most affected by soil splash during watering, surrounded by the still, moist air that accumulates near ground level. Those conditions create the environment that fungal infections need to establish and move upward through the plant.
Try Companion Planting With Basil
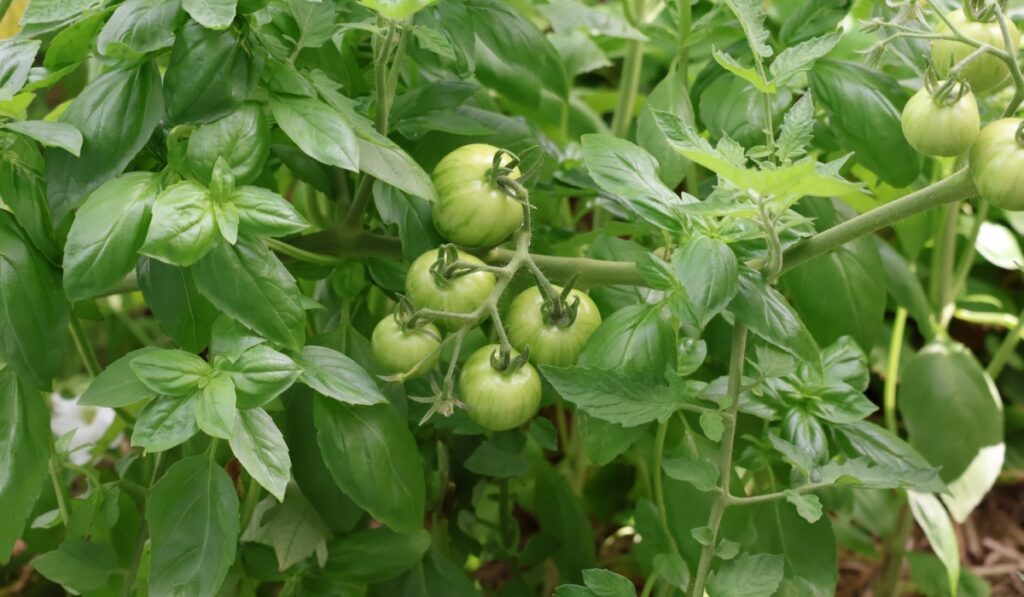
Companion planting sometimes gets treated as folk wisdom, but basil alongside tomatoes has measurable research behind it. UK horticultural trials found that interplanting basil with tomatoes increased marketable yield by approximately 30% compared to control plots, with cleaner foliage and fewer pest problems recorded in both open-bed and greenhouse settings. The mechanism is chemical. Basil emits volatile compounds including linalool and eugenol that deter common tomato pests while attracting the beneficial pollinating insects that tomatoes depend on for fruit set.
To ensure both tomatoes and basil have sufficient space for root development, place them 15 to 20 inches apart. This distance allows both crops to thrive while ensuring the basil’s canopy-level pest-deterrent properties remain effective. For a multi-layered approach, marigolds can also be integrated alongside basil to further enhance these protective benefits. Their roots produce compounds that inhibit soil-dwelling nematodes, while their flowers attract predatory insects that hunt aphids. A border row of marigolds alongside interplanted basil creates layered, chemical-free pest management that requires no active maintenance once the initial planting is in place.
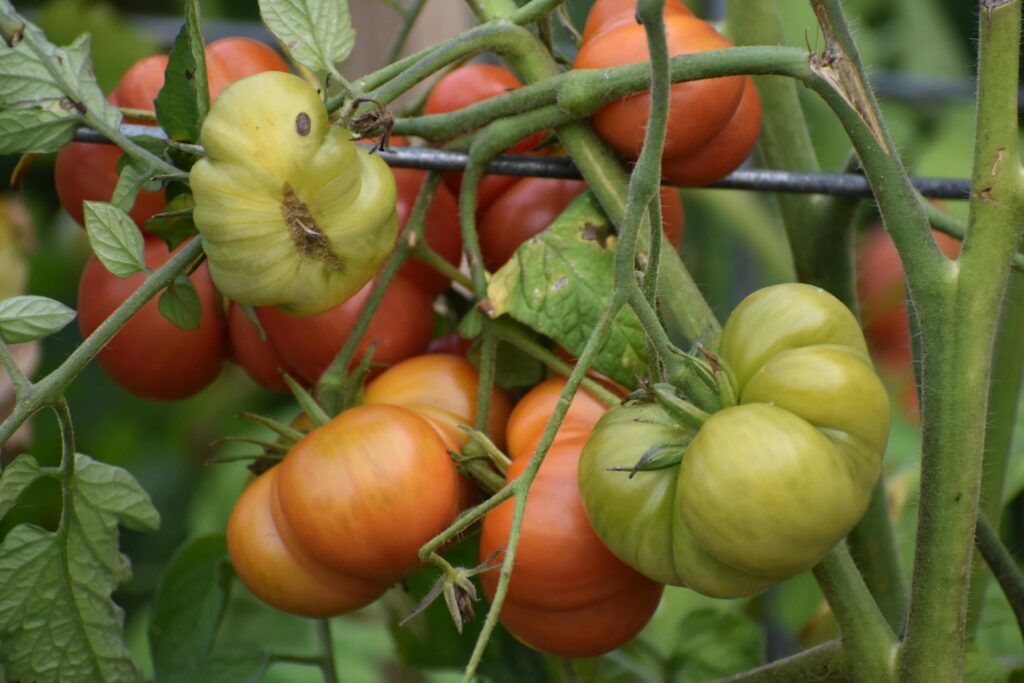
Watch for Signs of Magnesium Deficiency
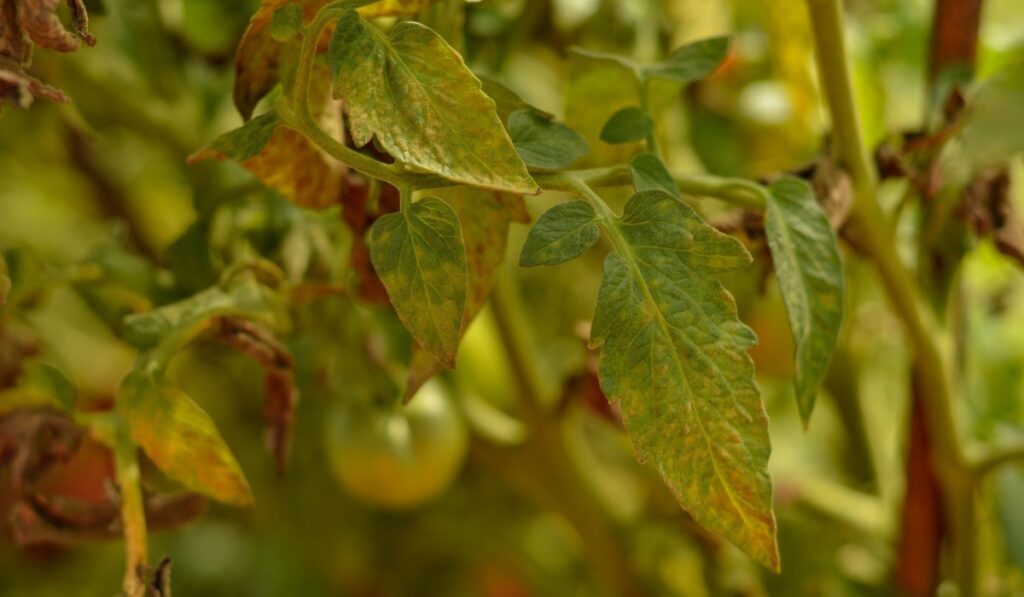
Chlorophyll, the compound that drives photosynthesis and gives leaves their green color, contains magnesium. When a tomato plant cannot access enough of it, photosynthesis slows and a specific visual pattern appears on the foliage: the tissue between leaf veins turns yellow while the veins themselves remain green. This symptom, called interveinal chlorosis, typically appears on older, lower leaves first because the plant draws magnesium from mature tissue to supply younger, actively growing leaves when soil levels run low.
Epsom salt, which is magnesium sulfate, is frequently recommended as a remedy; however, the soil should be tested to confirm the deficiency before applying it. Blossom-end rot is frequently caused by a lack of calcium, which can be triggered when excessive magnesium levels interfere with calcium absorption at the root zone. A basic soil test costs very little and removes the guesswork, preventing a well-intentioned corrective measure from producing a separate and equally frustrating problem.
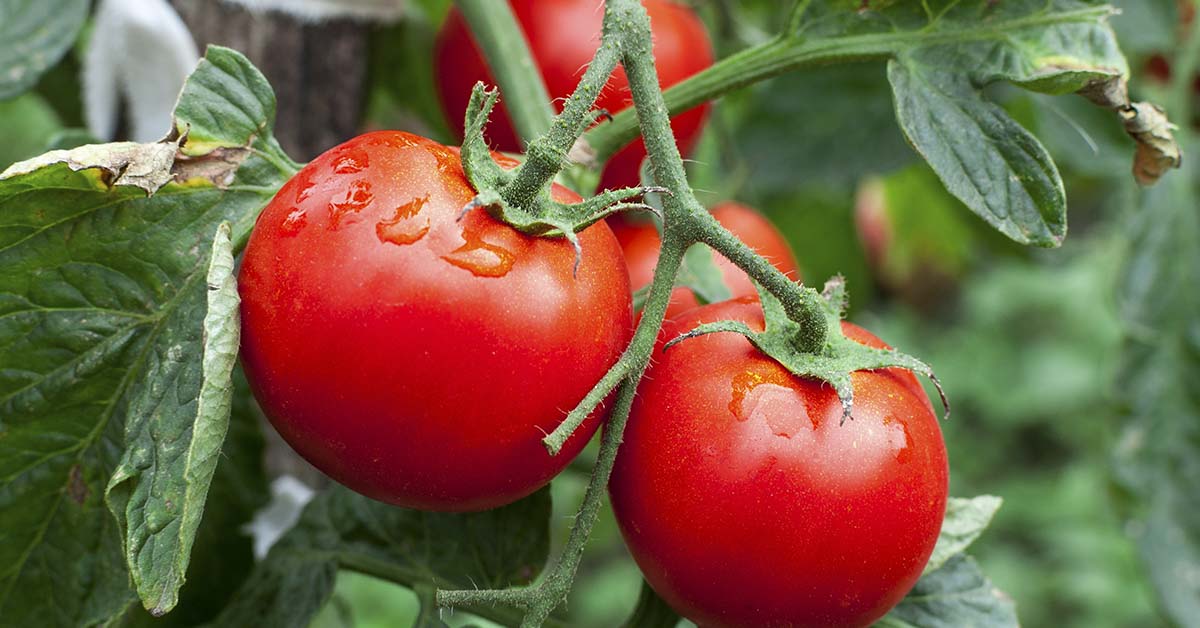
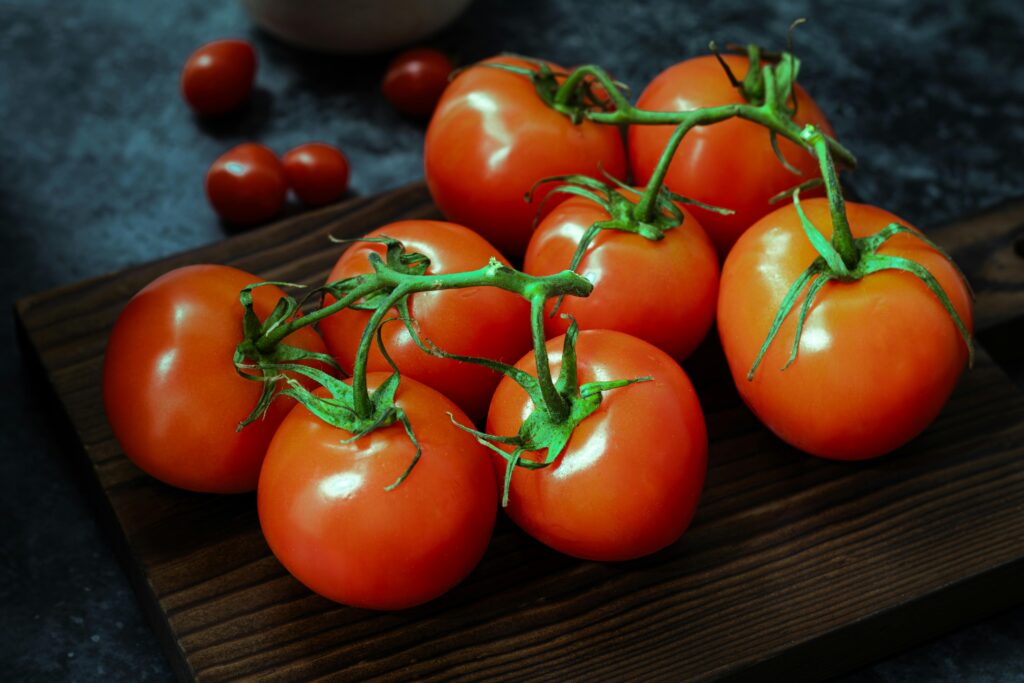
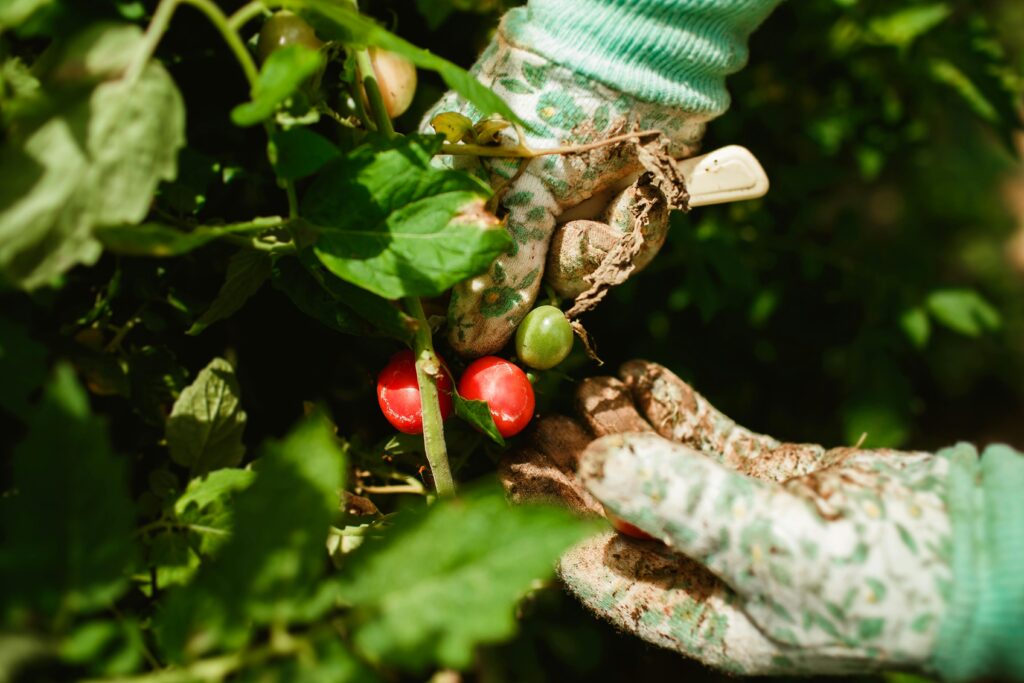
Harvest at the Right Time to Keep Plants Producing

A tomato left on the vine past its peak does not improve. It softens, attracts insects, and signals to the plant that its reproductive goal has been reached, which slows the rate at which new flowers form and new fruit sets. Harvesting promptly at peak ripeness keeps that signal from interrupting the production cycle, particularly in the mid-to-late season when maintaining the momentum of continuous fruiting matters most to total yield.
Picking fruit slightly before peak and finishing the ripening process indoors at room temperature produces flavor equal to fully vine-ripened fruit. The additional benefit is a cleaner garden with lower pest pressure, since overripe fruit on the vine is one of the primary attractants for insects that then move to still-developing tomatoes. Checking plants every two days during peak season prevents the backlog of overripe fruit that compounds quickly in warm weather and cuts into the productive window of the planting.
A.I. Disclaimer: This article was created with AI assistance and edited by a human for accuracy and clarity.
Read More: Eat These 10 Foods to Fight Aging From the Inside Out