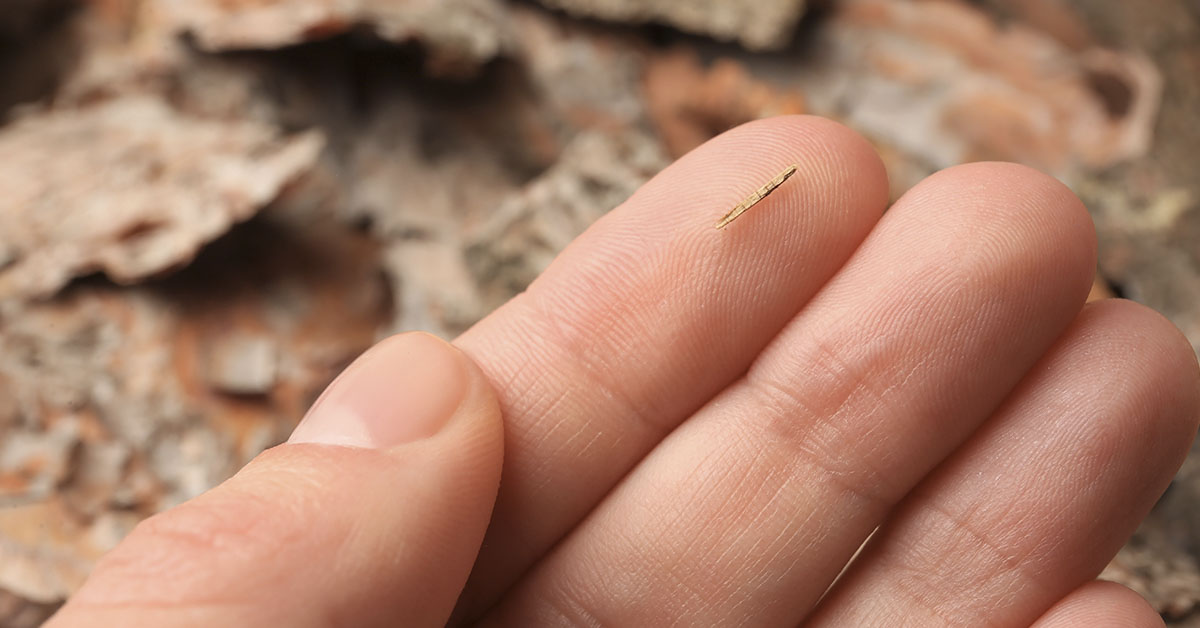

Getting a splinter feels like being personally attacked by a piece of wood with a vendetta. One moment you’re minding your own business, and the next you’re betrayed by nature’s tiniest sword. The good news is that knowing how to remove splinters means you don’t have to suffer through the indignity any longer than necessary.

Luckily, hand surgeon Jeffrey C. Wint, MD, from the Hand Center of Western Massachusetts, says some small, superficial foreign bodies in your hand can be removed without seeing a doctor, and they should be removed as soon as possible to prevent infection or further injury. Here’s the safe way to do it on your own.
Clean Everything First
According to WebMD, washing your hands and the affected area with soap and water. Sterilize your tools by wiping them down with rubbing alcohol. Find good lighting and use a magnifying glass if you need to spot tiny fragments.
When removing the splinter, always pull the splinter out in the same direction it entered. Don’t pinch or squeeze the skin around it. This can break the splinter into smaller pieces or push it deeper. Keep these rules in mind because they matter no matter how you choose to remove splinters.
Method 1: Tweezers and Needle
When a part of the splinter sticks out from the skin, a pair of tweezers will be the simplest tool to use. Grip it firmly and pull along at the same angle it entered the skin. Pull slowly and steadily. Once the splinter is out, apply antibiotic ointment, and then cover the wound with a bandage.
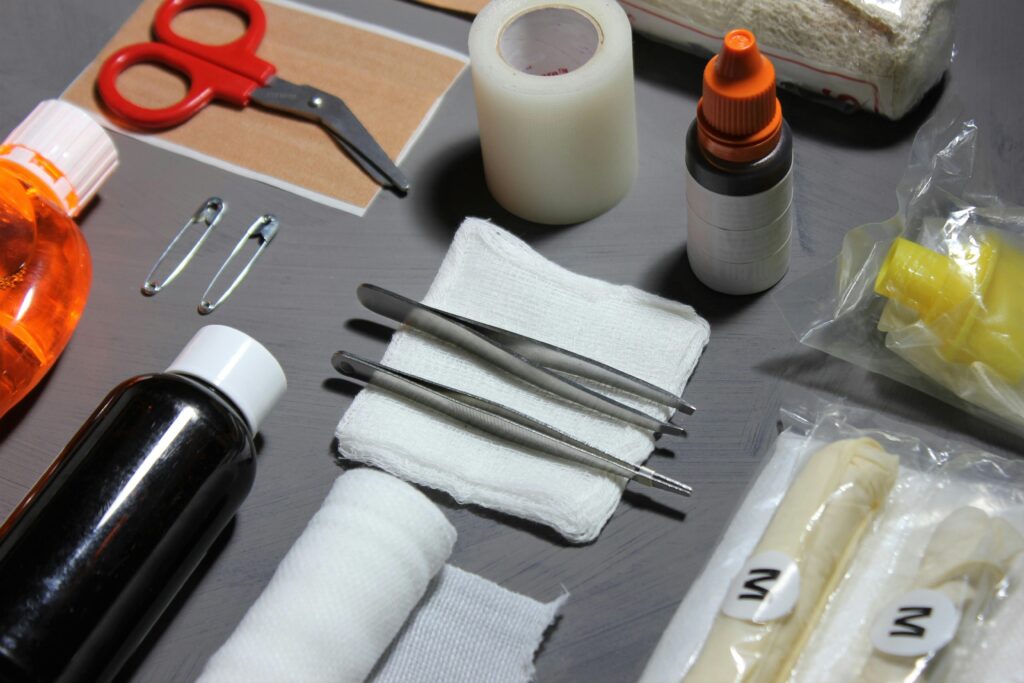
If the entire splinter is beneath the skin, you will need to use a sterilized needle to help lift its edge. Gently break the skin just above the splinter’s tip until it becomes visible. Wrapping ice in a cloth and holding it against the area for a few minutes beforehand might reduce discomfort from the needle prick. Then use tweezers to pull it out.
The goal is to free the splinter, not perform surgery. After removal, apply an antiseptic ointment.
Method 2: Tape and Glue
This works best for shallow splinters near the surface. Press a piece of clean adhesive tape or duct tape gently over the area, then pull it off. The sticky surface should lift the splinter out without breaking it.
If tape doesn’t work, try a thin layer of white school glue. Let it dry completely, then peel it off. This catches and lifts the fine splinters that are almost invisible to the eye, such as fiberglass or plant spines.
Method 3: Epsom Salt Soak
People have used this home remedy for centuries to remove splinters, but research hasn’t confirmed how effective it is. It is believed that the Epsom salt creates osmotic pressure on the skin, pulling water to the surface to help lift out foreign bodies. Even when the splinter won’t completely come out, the salt solution softens the skin, reduces swelling, and brings the splinter closer to the surface.
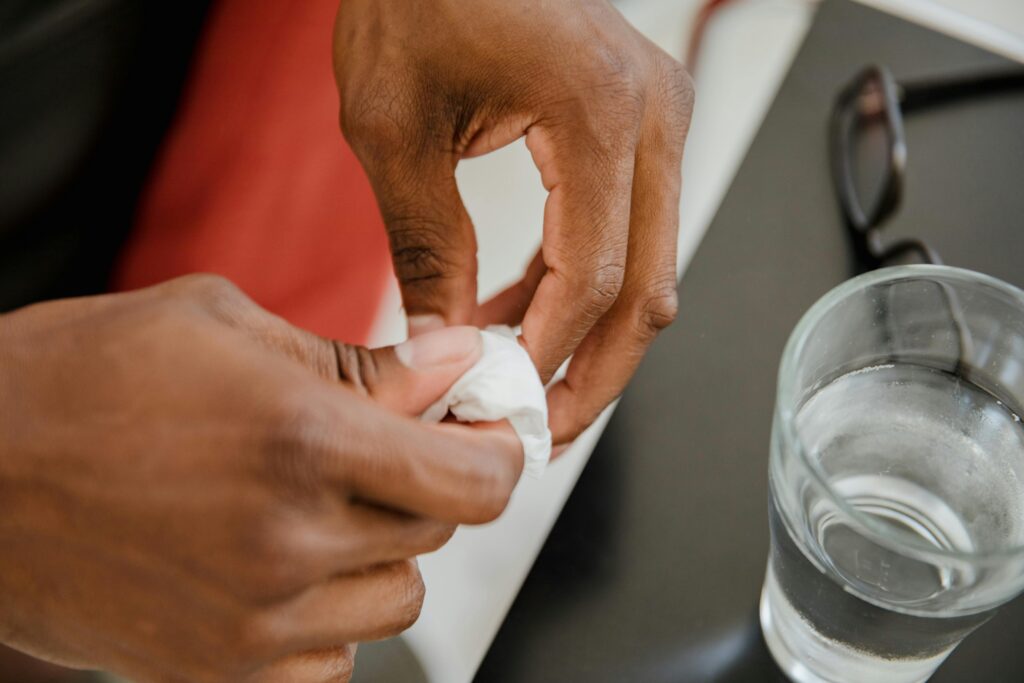
To use this method, dissolve two tablespoons of Epsom salt in warm water and soak the area for 15 to 20 minutes. Then, try removing the splinter with tweezers. It should slide out easily. If not, repeat the soak twice a day until it surfaces.
This soak is generally safe, but avoid it if the area is heavily inflamed or infected. If you’re pregnant, check with your doctor first. Alternatively, you can also try plain warm water, as it softens the skin just as well for removal.
Method 4: Baking Soda Paste
While no clinical studies have tested this method, baking soda is believed to work much like Epsom salt by increasing osmotic pressure in the skin. It’s a simple approach, though it does take some patience.
Mix a quarter teaspoon of baking soda with enough water to form a paste and apply the paste directly on and around the splinter. Cover with a sterile bandage and leave it on for 24 hours. When you remove the bandage, the splinter should be sticking out.
Method 5: Hydrogen Peroxide Soak
Search for safe methods on how to remove splinters at home, and this one often comes up. The foaming action of hydrogen peroxide might help clear debris around a splinter and bring the object to the surface. But the Wound Care Education Institute explains that modern medicine has moved away from this practice. Hydrogen peroxide can’t tell the difference between harmful bacteria and healthy tissue. So it damages the developing tissue your body needs and slows down the healing process.
An alternative to this would be a salicylic acid wart plaster. They are shaped like small disks and can be applied over the splinter and left on for 12 hours.
Method 6: Honey Treatment
Honey has antiseptic properties and works by softening the skin around a splinter, pulling moisture into your skin, and easing the splinter toward the surface.
Apply a thick layer of honey to the area, then cover it with a bandage, and leave it on for a few hours. Afterward, remove the bandage and try using tweezers. While honey’s antiseptic qualities can help healing, some experts caution that it may cause the splinter to break apart. If the splinter is deep, large, or near any sensitive areas, such as the eye or under a nail. You will need to see a doctor.
Method 7: Potato or Banana Peel
Some people swear by these natural “drawing” remedies. Potato and banana peels contain proteolytic enzymes, proteins that break down other proteins in your skin. These enzymes soften the tissue around the splinter while the peel’s moisture makes your skin swell slightly. This combination pushes the splinter closer to the surface overnight.
To try it, first, cut a small piece of fresh peel. Place the inner side directly on the splinter and secure it with a bandage. Leave it on while you sleep. In the morning, the splinter should sit closer to the surface.
Method 8: Vinegar Soak
This method shows how to remove small splinters on the hands or feet using a simple household item. The soak cleans the area since both white and apple cider vinegar have mild antiseptic properties. This prevents infection while you work on getting the little dagger out.
Vinegar contains acetic acid, which breaks down dead skin cells around the splinter. The softened skin lets the splinter slide out more easily, especially wooden ones or thorns.
To use this method, pour a small amount of vinegar into a cup and soak the area for 15 to 20 minutes. If soaking isn’t practical, soak a cotton ball in vinegar and tape it over the splinter. Afterward, the skin should be soft enough for a gentle removal. Avoid this one if your skin is already irritated because vinegar can sting.
Method 9: Oil Treatment
A skin-safe oil—such as olive oil, coconut oil, or vegetable oil—works differently from the other methods mentioned. It seeps into the wound channel and makes everything slippery. Your body naturally pushes out foreign objects through muscle movements and skin regeneration. The oil helps by reducing friction, so the splinter can glide out instead of staying trapped.
To use this method, pour a small amount of oil directly onto the splinter site and massage gently for a minute or two. Or, use the cotton ball soak trick, then tape it over the splinter. Give the oil time to work into the wound channel.
After several hours, try gently pressing on the skin around the splinter. Sometimes it will pop right out. If not, use clean tweezers to grab any visible ends.
Read More: 21 Natural and Home Remedies For a Sore Throat
Let It Work Out Naturally
As your skin cells regenerate and shed, tiny splinters near the skin surface sometimes work themselves out on their own. However, this only works under specific conditions.
The fragment must be small enough that your body treats it as minor debris rather than a threat requiring an immune response. If you’re experiencing pain, it means the splinter has triggered nerve endings and needs to come out now. Any signs of redness, warmth, or swelling might mean that the infection risk is too high to wait.
When to See a Doctor
Most splinters can be removed at home with tweezers, but some require medical attention. Deeper splinters, particularly those near nerves, tendons, blood vessels, or other sensitive structures, should be referred to a doctor for removal. These embedded ones require professional tools and expertise to remove safely without causing further injury.
Give yourself 10 to 15 minutes of careful attempts. Then stop. Dr. Jeffrey C. Wint warns that aggressive removal shatters the splinter and scatters fragments under your skin. Continued digging does more harm than good.
Watch for signs of infection such as redness, swelling, warmth, or white or yellow discharge. Tingling, color changes, throbbing, or trouble moving the area can mean the splinter is near a nerve or blood vessel. If you notice any of these, get medical help.
Watch the Wound After
Tetanus is a bacterial infection that attacks the nervous system and causes painful muscle stiffness and spasms. The bacteria live in soil, dust, and rust. Even a small splinter from old wood, metal, or dirty soil can introduce these bacteria.
Check your tetanus vaccination status if the splinter came from any of these sources. You need a booster shot every 10 years. Your doctor may also give you a tetanus immunoglobulin shot even if your vaccination is current. This shot delivers antibodies that work right away.
Most splinters are nothing more than a minor annoyance once you know how to remove them properly. The body is remarkably good at healing small puncture wounds once the foreign object is gone. If something feels wrong or the wound isn’t healing as expected, trust that instinct and call your doctor. Otherwise, you’re done. The splinter lost this fight.
Disclaimer: This information is not intended to be a substitute for professional medical advice, diagnosis or treatment and is for information only. Always seek the advice of your physician or another qualified health provider with any questions about your medical condition and/or current medication. Do not disregard professional medical advice or delay seeking advice or treatment because of something you have read here.
Read More: 6 Types of Warts (Signs, Symptoms, Home Remedies, and Treatment)