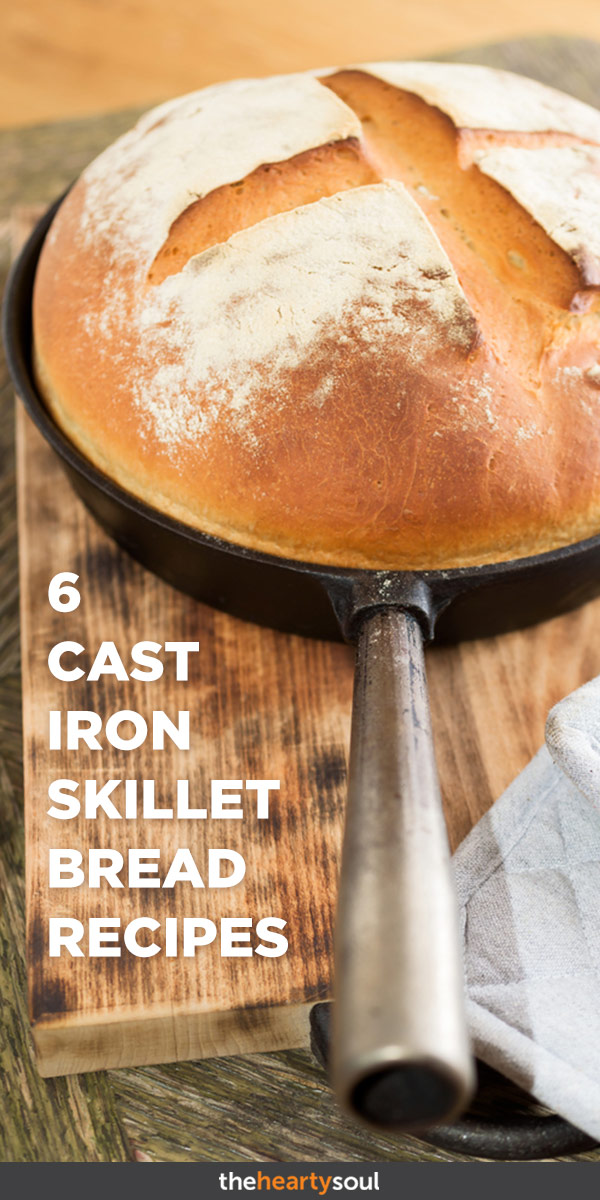

As the fall season approaches us we start to shift to comfort foods and I know in our home that includes freshly baked bread. One of my favourite ways to bake bread is in a cast-iron skillet and if you have ever had freshly baked cast iron skillet bread you will know just how yummy it can be plus the smell of fresh baked bread in the house is a comfort all of its own.
When you think of cast-iron pans I bet the first thing that comes to mind is your grandmothers old classic cook wear… am I right? Cast-Iron pans are classic heirloom pieces that last a lifetime and if you are lucky you may have been handed down your grandmothers set.
Now if you have to buy these brand new they can come with a giant price tag but are well worth the price. They are eco-friendly, non-stick (as long as they are well seasoned) and are safer than other non-stick pans and the biggest bonus is the can last forever with proper love and care.
If you are new to using cast iron skillets here are some great care tips for you:
Seasoning a New Cast Iron Skillet
- Scrub skillet well in hot soapy water.
- Dry thoroughly.
- Spread a thin layer of olive oil over the skillet.
- Place it upside down on a middle oven rack at 375°. (Place foil or baking sheet on a lower rack to catch drips.)
- Bake 1 hour; let cool in the oven.
Cleaning
- Make sure to clean the skillet immediately after use, while it is still hot or warm. Don’t soak the pan or leave it in the sink because it may rust.
- Wash the skillet by hand using hot water and a sponge or stiff brush. (Use tongs or wear gloves if the water is extra hot!) Avoid using the dishwasher, soap, or steel wool, as these may strip the pan’s seasoning.
- To remove any stuck-on food, scrub the pan with a paste of coarse kosher salt and water. Then rinse or wipe with a paper towel. Stubborn food residue can also be loosened by boiling water in the pan.
- It’s really important to thoroughly towel dry the skillet or you can dry it on the stove over low heat.
- Using a cloth or paper towel, apply a light coat of olive oil to the inside of the skillet
- Store the skillet in a dry place.
Now on to some great cast-iron bread recipes that I absolutely love and so does my family:
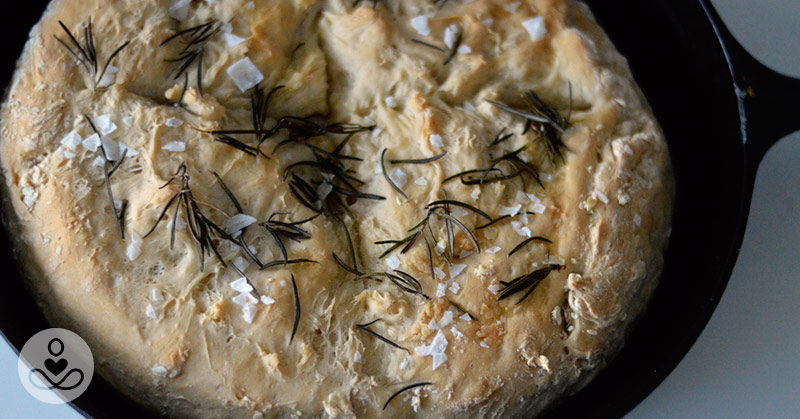
Roasted Garlic Skillet Bread
I love this recipe as its only 4 ingredients plus water and no kneading, plus its perfect if you are vegan or have vegan dinner guests coming over.
Ingredients:
- 4 1/2 cups of all-purpose gluten-free flour
**You can use whole wheat in equal amounts, bread will just be more dense
- 2 1/2 teaspoons salt for dough with additional 3-4 tablespoons sea salt to cover the top
- 1 teaspoon dry yeast
- 2 cups lukewarm (neither hot nor cold) water
- 1-3 tablespoons mashed, roasted garlic – depending on your preference (1-2 heads of garlic)
Instructions:
- Mix dry ingredients in a bowl no smaller than 3 quarts to give dough room to rise.
- Add water 1 cup at a time, combining all dry ingredients with first cup of water before adding second cup. *Important so take your time to incorporate first cup completely before moving to second.
- Add the mashed roasted garlic and, with your hands, incorporate evenly into the dough.
- Cover and let rise at room temperature anywhere from 8-12 hours – overnight or morning to evening.
- Right before uncovering the risen dough, flour a clean cutting board or counter surface lightly and prepare kitchen scissors with blades dipped in flour.
- Then preheat oven to 400 degrees and put cast iron or enamelware skillet in over to preheat at the same time. I like to keep the pan in the oven for about 15 minutes so usually a few minutes after the oven has preheated.
- WITH OVEN MITTS, remove hot pan from the oven, wipe bottom of pan lightly with olive oil and set on stove top.
- Turn out risen dough onto floured surface, a rubber spatula can help here, and gently – you don’t want to accidentally punch down the rise! – shape into a ball.
- Transfer dough ball from the floured surface to hot pan, a dough scraper is helpful for this.
- Use prepared kitchen scissors to cut a cross in the top of your loaf, sprinkle generously with sea salt and bake for 45-50 minutes until the loaf is a beautiful golden brown and the bottom, tapped, makes a slightly hollow sound.
- Remove from pan immediately and allow to cool for at least 10 minutes on a wire rack before cutting. This is important because, with cast iron, the bread will continue to cook if left in the pan.
Gluten-Free Irish Soda Bread
Now, this is the perfect skillet bread to go with a giant bowl of soup or stew on a really cold day. It’s tradition for us to make Soda Bread on St. Patrick’s Day with a pot of hearty stew.
Ingredients
- 1½ cups buttermilk
- 1 large egg
- 4 tablespoons melted butter, divided
- 3 cups gluten-free all-purpose flour, plus more for dusting
- 2 teaspoons baking powder
- 1 teaspoon baking soda
- ¾ teaspoon salt
Instructions
- Preheat oven to 400°F.
- Whisk buttermilk, egg and 3 tablespoons melted butter in a medium bowl.
- Place flour, baking powder, baking soda and salt in a stand mixer fitted with paddle attachment. Mix on low speed to combine. Increase speed to medium and slowly add the buttermilk mixture until a soft dough forms. Let the dough rest for 10 minutes.
- Brush the remaining 1 tablespoon butter over the base and partway up the sides of an 8-inch cast-iron skillet.
- Dust hands with flour and form the dough into a ball. Press the dough into the prepared pan.
- Use a sharp knife to score a deep “X” in the top of the dough.
- Bake until lightly browned and hollow-sounding when tapped on the bottom, 30 to 40 minutes.
- Remove from the pan and let cool on a rack for at least 30 minutes.
Whole Wheat No-Knead Skillet Bread
This is a simple recipe with few ingredients and taste amazing with fresh whipped butter or homemade jam. This skillet bread just may become one of our favourites in the morning.
Ingredients:
- 4 cups gluten free flour
- 1½ teaspoons kosher salt
- 2¼ teaspoons granulated active dry yeast
- 2 cups warm water
- olive oil
- 1 tablespoon rolled oats
- few pinches of coarse salt
Instructions:
- In a large bowl, whisk together the flour, salt and yeast.
- Pour the warm water over the top and using a sturdy wooden spoon, mix until combined. The dough will be shaggy and sticky, this is fine.
- Lightly cover the bowl with a piece of plastic wrap and a kitchen towel. Keep the bowl in a draft-free spot for one hour.
- Using some olive oil, lightly grease the bottom of a 10 to 12 inch cast iron skillet.
- Sprinkle some extra flour over the top of the dough and with floured hands work the dough out of the bowl and dump it straight into the prepared skillet.
- Give the skillet a shake to distribute the dough or use a wooden spoon to shape it into a round.
- Cover the dough with a kitchen towel and allow it to rise once more for just 30 minutes.
- Meanwhile, preheat your oven to 400 degrees.
- Brush the top of the dough with about 2 teaspoons of olive oil, score and sprinkle the rolled oats and the coarse salt over the top.
- Bake for 35 to 40 minutes until a crusty deep golden brown.
No-Knead Bread with Buckwheat, Rye, Seeds and Nuts
Now, this takes a little over 15 hours from the time of preparation to baking but it is totally worth the long wait. This bread is tasty and like a meal of its own. This is definitely a bread we will be taking on our fall hikes this year. Plus its full of fibre and tons of nutrients.
Ingredients:
- 2 cups whole-wheat flour (wholemeal) or gluten-free flour
- 1 cup buckwheat flour
- 1 cup rye flour
- 1 tbsp chia seeds
- ½ cup toasted hazelnuts
- ½ cup walnuts
- ½ cup toasted sunflower seeds
- 1 teaspoon instant yeast
- 1 teaspoon salt
- 2 1/2 cups purified water
*extra flour to sprinkle the working surface and bowl
Instructions:
- In a large bowl combine flour, yeast, salt, nuts and seeds, then add water.
- Stir to combine and obtain a sticky dough.
- Cover the bowl with a clean towel and let the dough rise at room temperature for for 12 hours (until bubbles appear on its surface).
- Sprinkle a working surface with flour, transfer the dough on it, fold it once or twice and give it a ball shape.
- Sprinkle abundantly the bowl with flour, place the dough inside, cover with a clean towel and let it rise for two more hours (it should double its size).
- With about 20 minutes before the dough is ready, heat the oven at 220ºC/450ºF and place a cast-iron pot or a clay one into the oven, empty, to accumulate heat.
- Remove the pot from the oven, carefully transfer the dough into it, cover with a lit and bake for 30 minutes.
- Remove the lid and bake for 40 more minutes.
- Remove from the pot and let cool for a 10 minutes before slicing.
Coconut Flour Blueberry Skillet Bread
Now, this bread isn’t vegan as it uses 6 eggs which makes it high in protein but iit’salso grain-free, nut-free, sugar-free and yeast-free. The perfect bread to send in a little one’s school lunch and guaranteed to keep those little bellies full.
Ingredients:
- 6 eggs
- 1/4 cup coconut milk (or almond)
- 1 teaspoon vanilla extract
- 1/2 teaspoon cardamom
- 1/2 teaspoon cinnamon
- dash sea salt
- 3 tablespoons coconut flour
- 1 1/2 teaspoons baking powder
- 3/4 cup fresh blueberries, plus more for garnish (or apples, pears, bananas, strawberries)
Instructions:
- Preheat oven to 350 degrees F. Grease an 8″ cast iron skillet with coconut or avocado oil.
- In a medium-sized bowl, combine eggs, coconut milk, vanilla extract, cardamom, cinnamon, and sea salt until well combined.
- Sift coconut flour and baking powder into the egg mixture and whisk together well. Pour batter into the skillet and evenly sprinkle fruit into batter.
- Bake for 30-40 minutes, until golden brown and the center is firm to the touch.
- Garnish with your choice of toppings, like almond butter, maple syrup, extra fruit, honey, or coconut cream.
Upside Down Caramelized Banana Bread in a Skillet
Because dessert is very important and who doesn’t like banana bread? But be warned this may not last too long you may need to make another very soon. A few things I love about this recipe is it doesn’t use the basic white processed sugar or white flour instead it uses honey and almond flour.
Ingredients:
Caramelized Banana Topping
- 1 tablespoon coconut oil
- 1 1/2 tablespoons honey
- 1 teaspoon vanilla extract
- 1/2 teaspoon cinnamon
- 1 banana thinly sliced
Banana Bread
- 2 ripe bananas mashed
- 3 eggs
- 1 teaspoon vanilla extract
- 2 tablespoons coconut oil melted
- 1/2 teaspoon cinnamon
- 1 teaspoon baking soda
- 2 cups almond flour
Instructions:
- Preheat the oven to 175 degrees Celsius (350 degrees Fahrenheit)
- In an 8 inch cast iron skillet on medium heat combine the coconut oil, honey, vanilla and cinnamon and cook until it begins to bubble.
- Reduce the heat to low and place the banana slices in the mixture and cook for 3 to 4 minutes per side, flipping gently with a fork to ensure both sides get coated. Remove from the heat.
- In a bowl combine the mashed bananas, eggs, vanilla and coconut oil and stir until the mixture is smooth.
- Add in the cinnamon, baking soda and almond flour and continue to stir until the batter is fully mixed.
- Grease the outer edges of the cast iron skillet and then pour the batter in over top of the caramelized bananas.
- Place the skillet in the oven and bake the banana bread for 30 minutes until golden on top and a toothpick inserted in the middle comes out clean
- Run a knife around the edge of the skillet to loosen the bread and then place a plate on top of the skillet and flip it over so that the cake is on the plate with the bananas on top. This step should be down fairly soon after the skillet comes out of the oven to ensure the banana topping doesn’t stick to the base of the skillet. If any bananas do stay stuck to the skillet just scoop them out and place them on top of the bread.
- Serve warm.